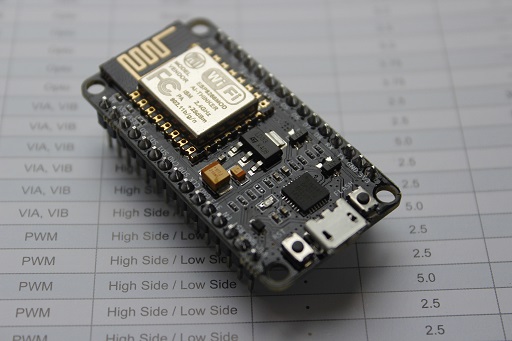
The ESP-8266 is a neat little µC with an 802.11b/g/n interface built in (Wikipedia).
You can buy this µC on various little boards. I did so myself with a nodeMcu devkit board, which includes bower supply throuigh USB and an USB serial port converter.
This description therefor will orient itself around the nodeMcu board but shall also apply to the other ESP8266 boards.
The how-to is done from memory. I hope i have caught all steps and traps. If not or you have difficulties following the instructions, please leave a comment.
What you will need:
- The nodeMcu development board
- An USB-Micro cable
- The USB-to-serial driver from Silabs
- The official SDK VM
- Virtual Box
- A GIT client (i.e. TortoiseGIT)
- ESP Flasher Tool
Step 1: Prepare drivers
Download and install the driver package for the USB-to-serial driver.
Step 2: Prepare the VM Host
Download and install Virtual Box
Step 3: Prepare the VM Guest
Download the official SDK VM
Step 4: Install the VM
Start Virtual Box.
From the menu, chose File -> Import Appliance.
In the dialog, browse to the official SDK VM (.ova file) and follow to the next step.
Now you should see the parameters of the new VM listed. If everything looks OK (should be) then just hit import.
Step 5: Configure file exchange
Create a folder you want to use to share the source code files between your PC and the VM. i.e. C:\VM\Share.
In Virtual Box right click on the newly imported VM and select the first menuitem: change.
Navigate to „Shared folder“.
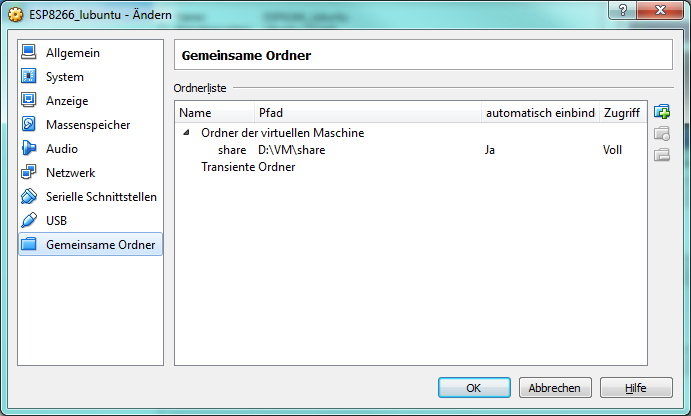
Click on the existing share and use the context menu to get into the change dialog.
Change the folder path to your created folder and make sure the folder. Hit OK when you are done and exit the change dialog.

Step 6: Prepare the version control software
Install TortoiseGIT
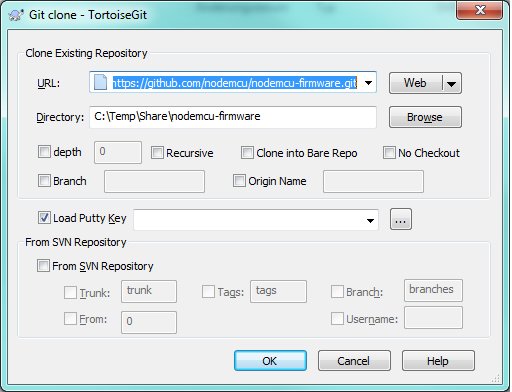
Step 7: Prepare the source code
Use your file explorer and navigate to your shared folder.
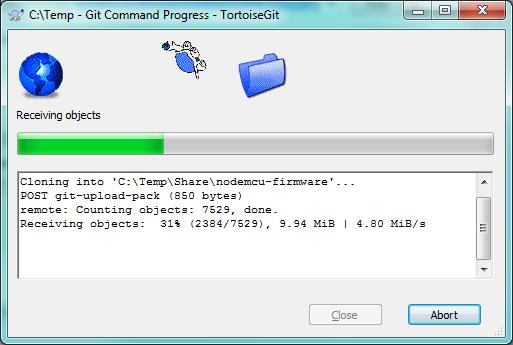
Right click on the folder’s empty background and select „Git Clone“.
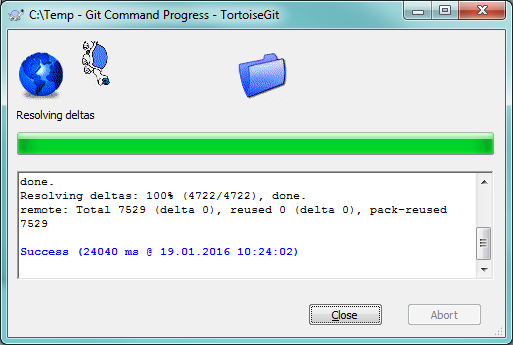
Clone the repository „https://github.com/nodemcu/nodemcu-firmware.git“
Step 8: Prepare compilation
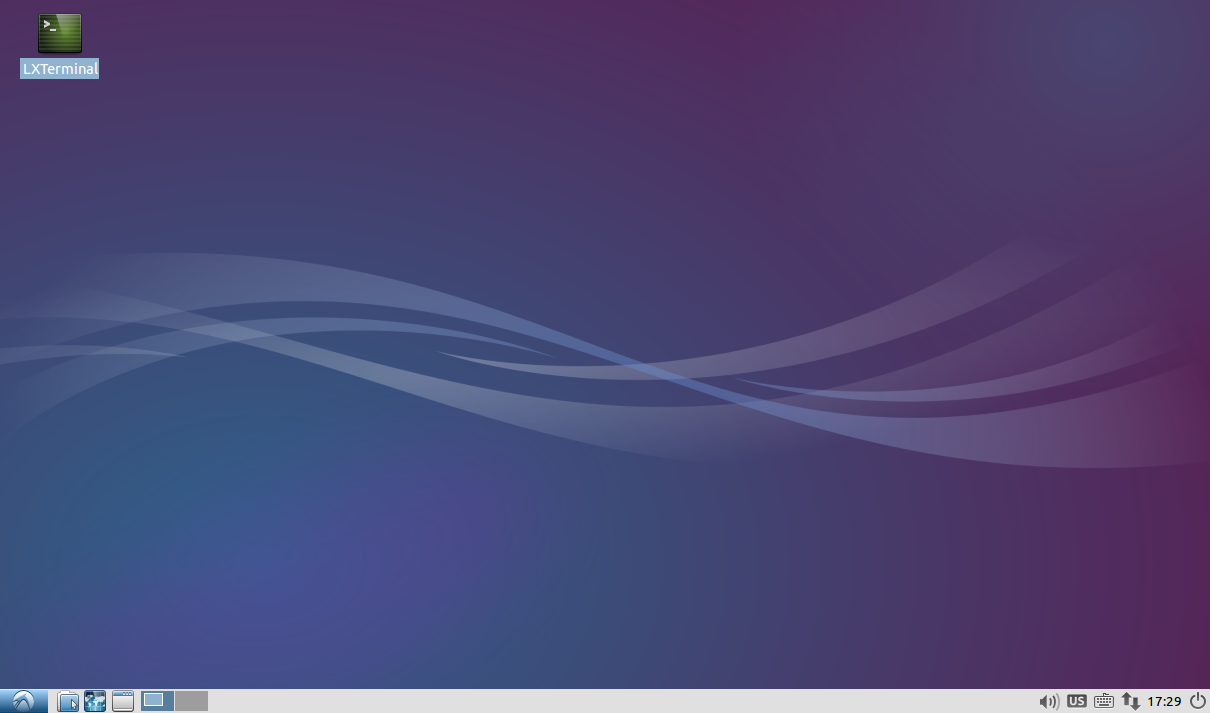
Start up your virtual machine.
It will greet you with a linux desktop and a single symbol at the top left corner. Execute this program „LX Terminal“
Mount the shared folder by typing „./mount.sh“ into the opened terminal. The password it will ask you for is „espressif“ (without the quotes).
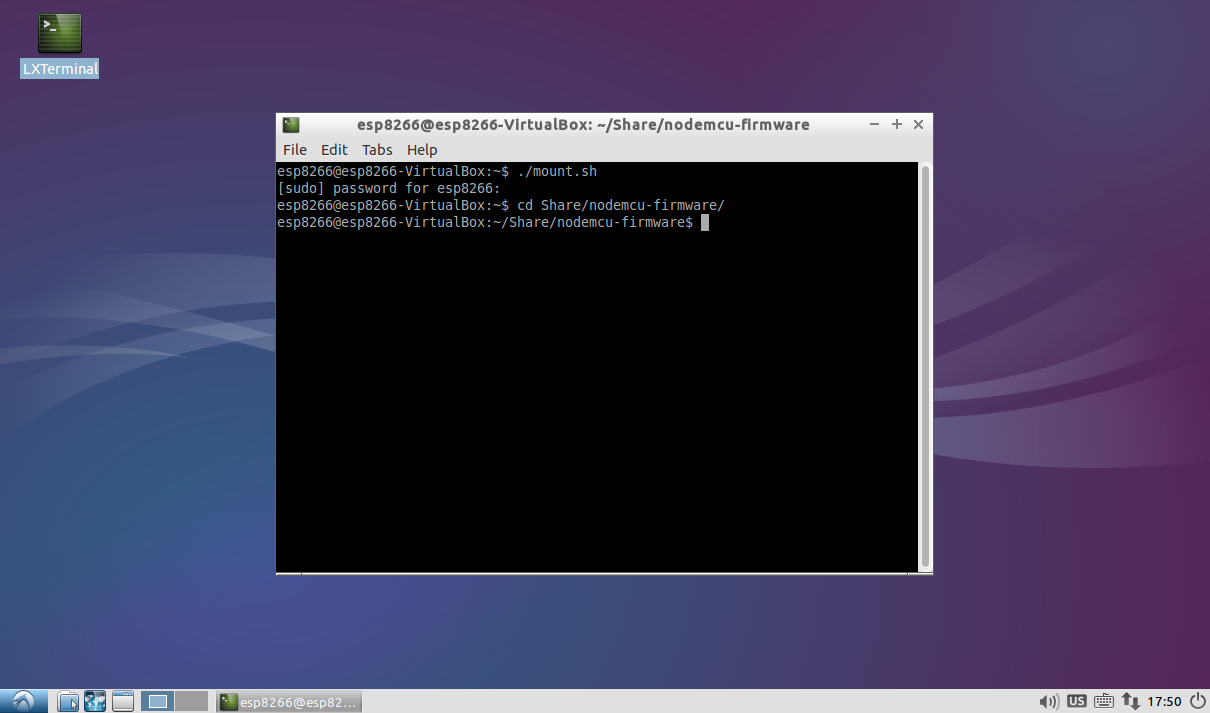
Now you can move into the shared folder and into the firmware repository by „cd Share/nodemcu-firmware“ make sure to use the correct casing.
Step 9: Configure modules /libraries
Comment in any module defines you want to have in your build in app/includes/user-modules.h and comment out all #defines of modules you don’t want to have in your buid.
While trying to compile the nodeMCU firmware as is from the source, I had errors locating the math library. As I do nit use the math library, I have deactivated the -lm linker option:
Open the app/includes/user-modules.h and comment out the #define LUA_USE_BUILTIN_MATH
Open the Makefile in the root app folder and change the linkflags from
LINKFLAGS_eagle.app.v6 = 			\
	-Wl,--gc-sections 			\
	-Wl,-Map=mapfile 			\
	-nostdlib 				\
	-T$(LD_FILE) 				\
	-Wl,@../ld/defsym.rom			\
	-Wl,--no-check-sections 		\
	-Wl,--wrap=_xtos_set_exception_handler	\
	-Wl,-static 				\
	$(addprefix -u , $(SELECTED_MODULE_SYMS)) \
	-Wl,--start-group 			\
	-lc 					\
	-lgcc 					\
	-lhal 					\
	-lphy 					\
	-lpp 					\
	-lnet80211 				\
	-lwpa 					\
	-lmain 					\
	-ljson 					\
	-lsmartconfig 				\
	-lssl 					\
	$(DEP_LIBS_eagle.app.v6) 		\
	-Wl,--end-group 			\
	-lm
to
LINKFLAGS_eagle.app.v6 = 			\
	-Wl,--gc-sections 			\
	-Wl,-Map=mapfile 			\
	-nostdlib 				\
	-T$(LD_FILE) 				\
	-Wl,@../ld/defsym.rom			\
	-Wl,--no-check-sections 		\
	-Wl,--wrap=_xtos_set_exception_handler	\
	-Wl,-static 				\
	$(addprefix -u , $(SELECTED_MODULE_SYMS)) \
	-Wl,--start-group 			\
	-lc 					\
	-lgcc 					\
	-lhal 					\
	-lphy 					\
	-lpp 					\
	-lnet80211 				\
	-lwpa 					\
	-lmain 					\
	-ljson 					\
	-lsmartconfig 				\
	-lssl 					\
	$(DEP_LIBS_eagle.app.v6) 		\
	-Wl,--end-group
Step 10: Deactivate serial module in esptool.py
Since we will be using the ESP Flash Tool on windows, we will deactivate the serial module on the last build-step:
Open tools/esptool.py and remove the line
import serial
as would only produce errors on the stock VM.
Step 11: Compile
Create your first build from stock nodemcu firmware:
„make“
This will take some time on the first run. Subsequent builds will only compile the changed and dependend files.

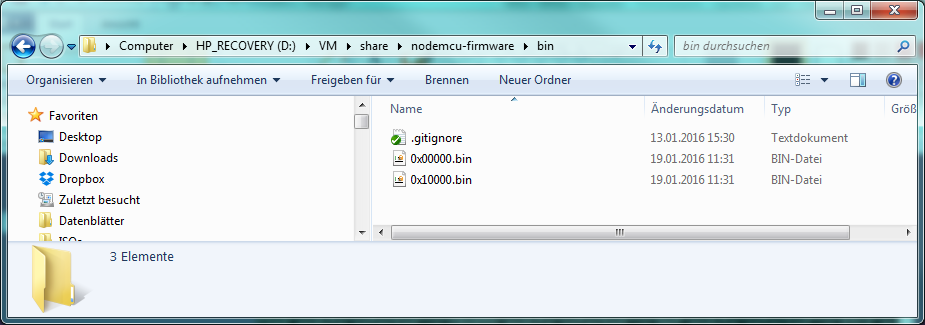
If everything continues without errors, there should be now two binary files in the nodemcu-firmware/bin folder. This is the actual firmware to flash on your nodeMcu/esp8266
Step 12: Flash to device
Now connect your nodeMcu with the USB-Micro cable to your PC.
Start the ESP Flasher Tool. Select the COM Port of the nodeMcu (if you don’t know it, you can look it up in the system properties under device manager)
Activate the config tab.
Mark the first two lines and select the two binaries you created in Step 9. In the corresponding address fields on the right, select the number matching the binary’s name.

Go back to the first tab and hit Flash!
The nodeMcu will start blinking and the progress bar will run through twice.
Reset the nodeMcu (hit the little RST button) and have fun!
PS: If you encounter any issues, please leave a note and I will try to solve them in this little how-to.
2 Kommentare zu „Setting up a ESP8266 Build environment“